
November 16th was the one year anniversary of Jewel Envy’s relocation to 151 Marion St. It has been a busy and wonderful year but getting here was not easy. This is the long awaited blog entry detailing the epic journey of the retail and studio space (two of the four floors)!
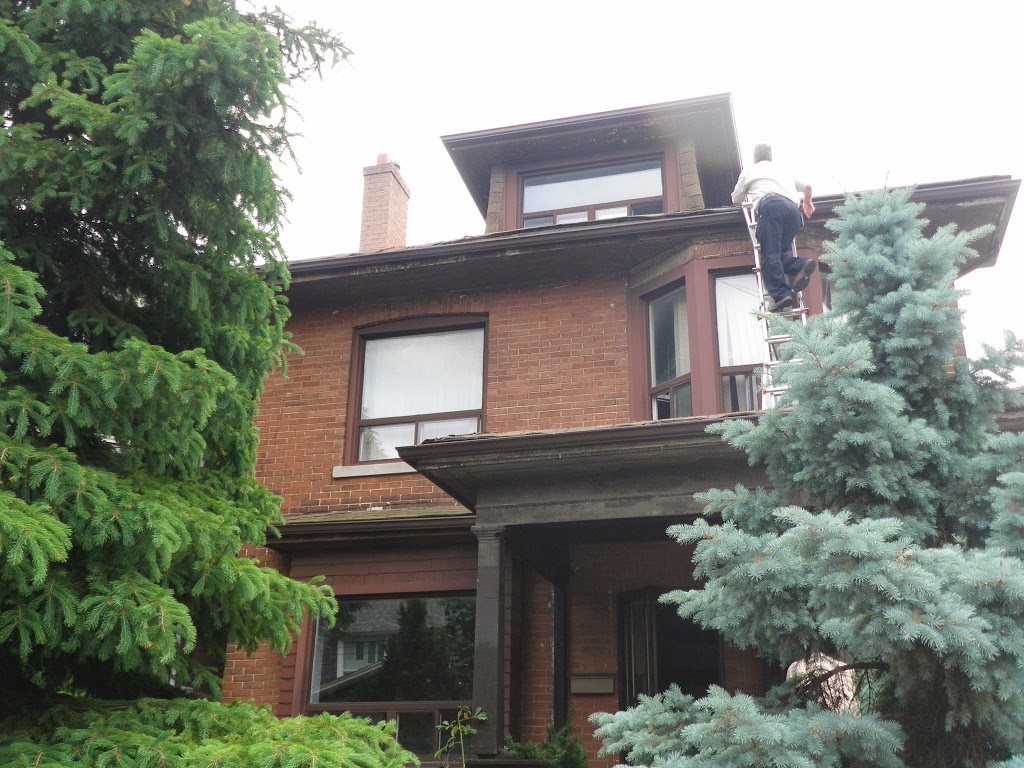
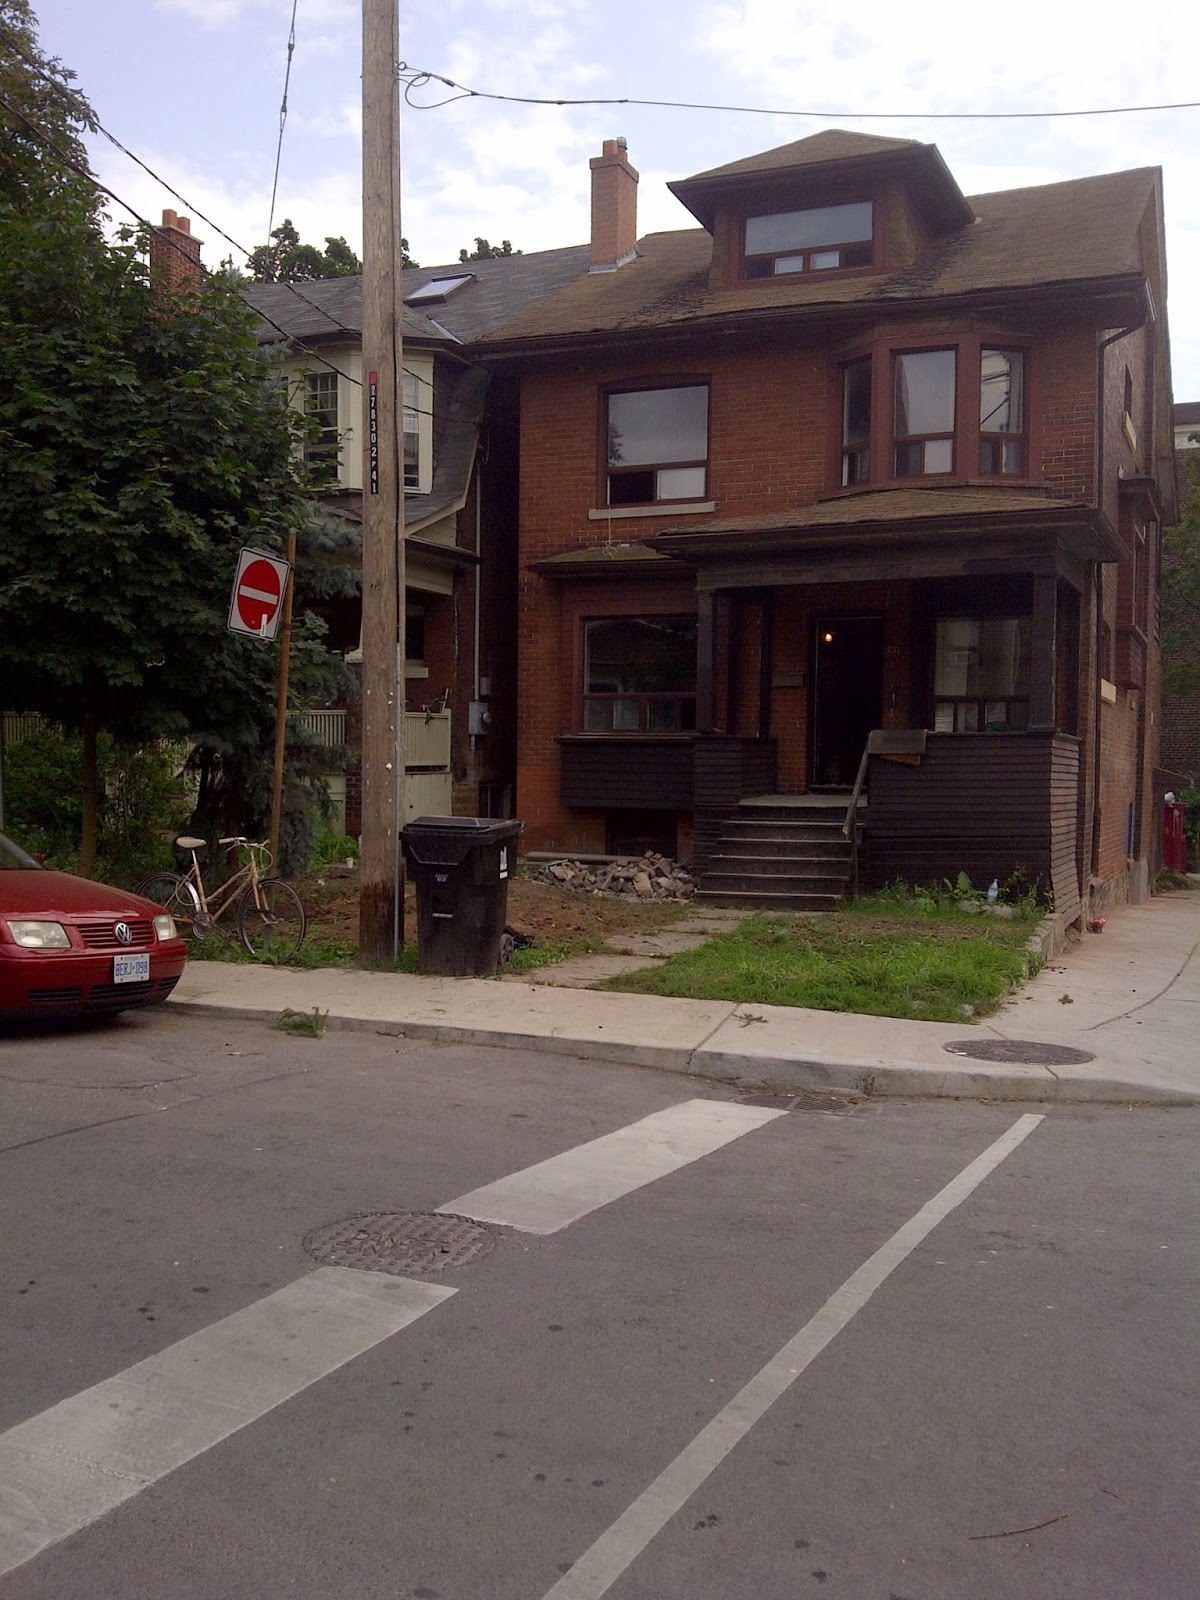
This is first image I have of the house. You may wonder why I am so close to the house and why I took a shot that was clearly blocked by trees. Well I had to stand this close to avoid getting the weeds in the viewfinder and it was the only way to see the house.
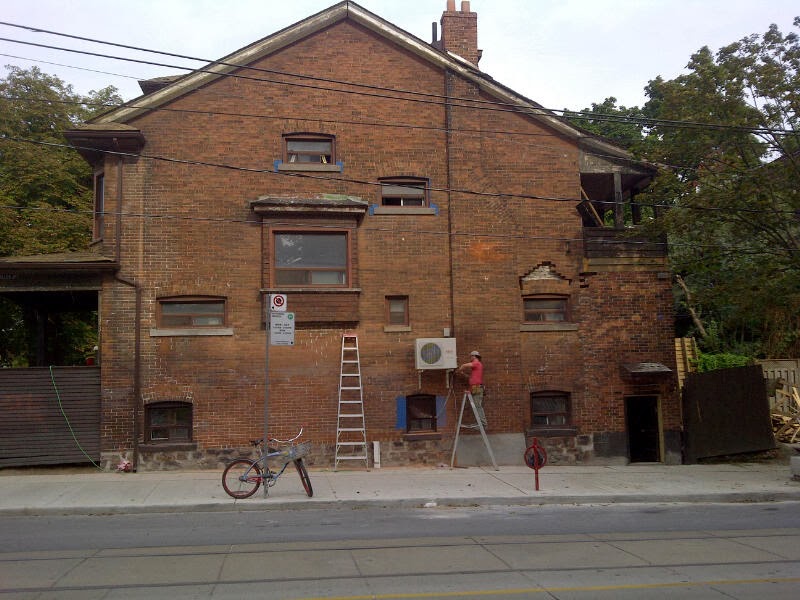
The place was used as a rooming house with each floor having a kitchen and washroom and a variety of tenants. The owner bred dogs and yes you could smell them before seeing them. Many of the issues were cosmetic and aromatic, but overall the structure was good. I consulted with three structural engineers, electricians, plumbers, HVAC installers, general contractors, and pest control to make sure I wasn’t buying an infested house. Most pre-purchase inspectors wore a respirator once inside and commented on this being a disaster home but a good buy for the right price. I knew from the start I would be gutting the ground floor and basement to open up the space, while trying to preserve some of the old charm as the house was built in 1904 and had some lovely features.
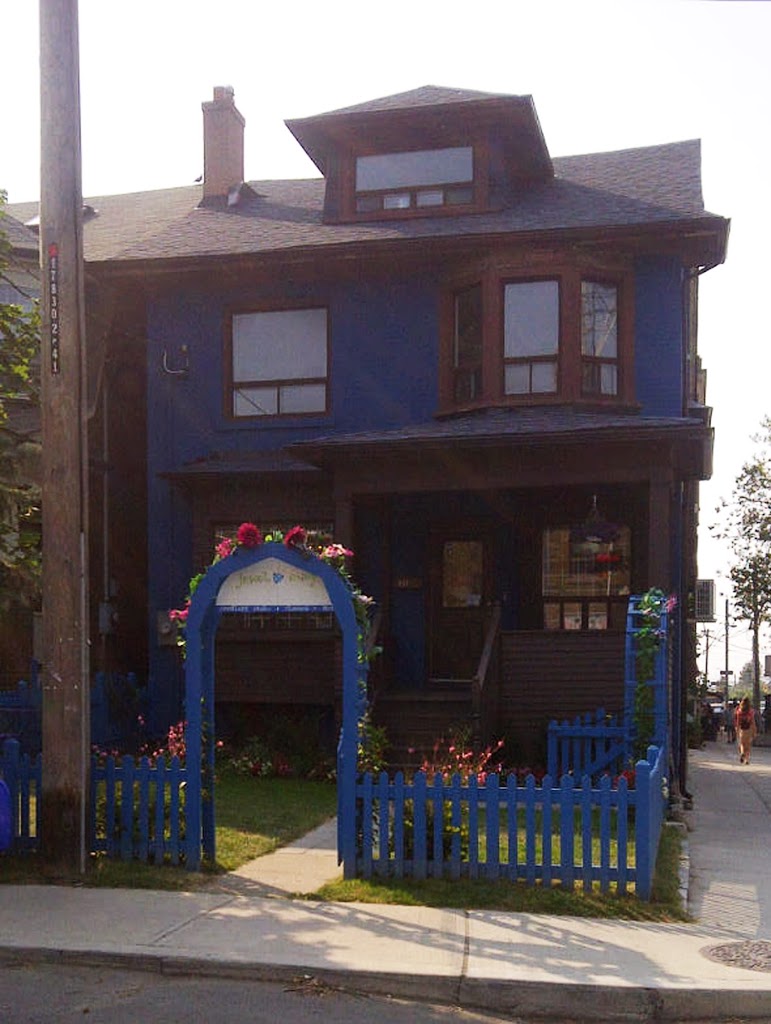
These next few pictures show the cleaned up exterior of the house. We had to remove the fences around the front yard, some of the trees and the three foot high weeds got trampled during demolition.
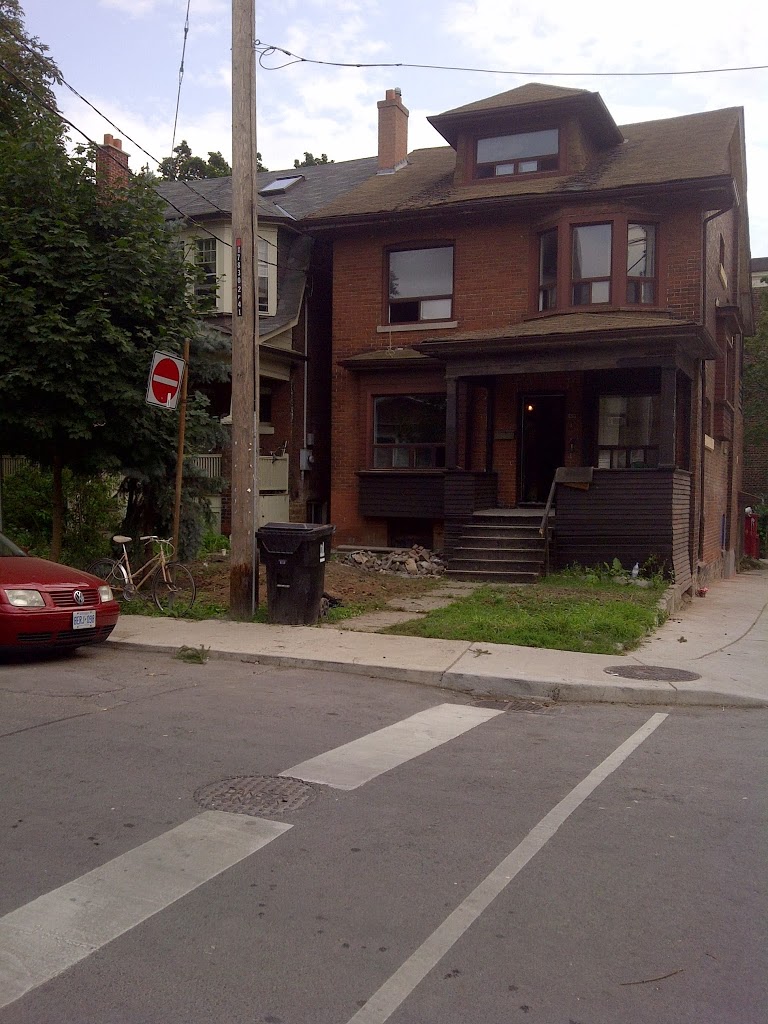


Now these views look like this:


Next we have some pictures from inside the house before the demolition. Most people thought I was crazy but I could see past what was here and imagine what could and would be here.
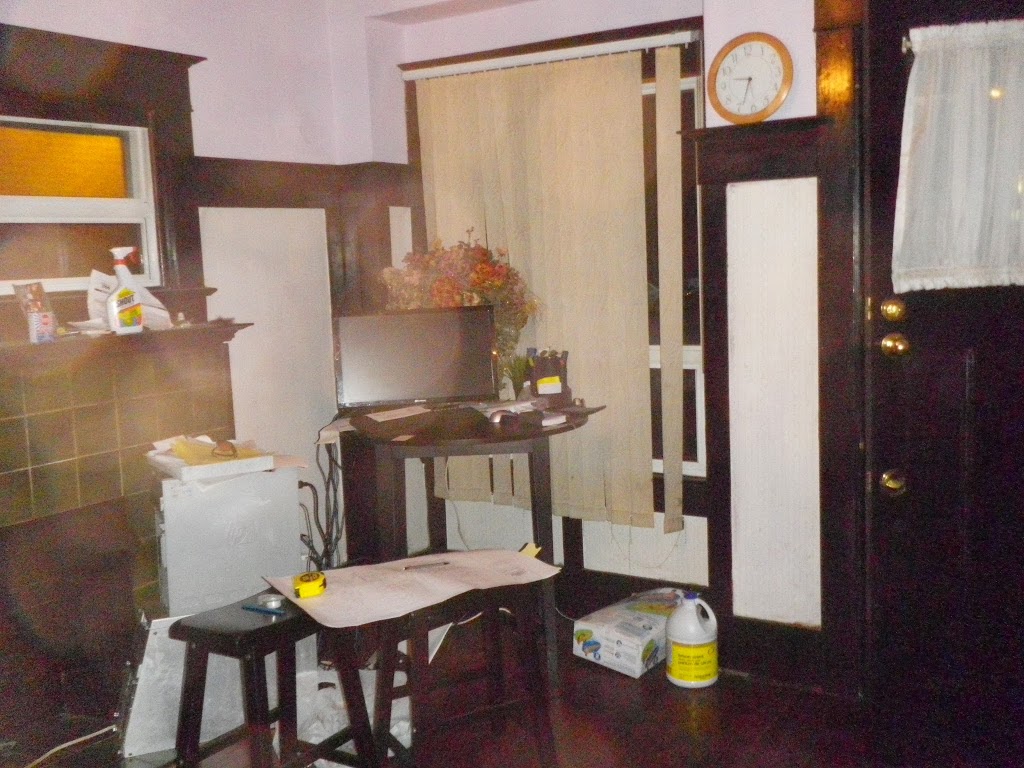

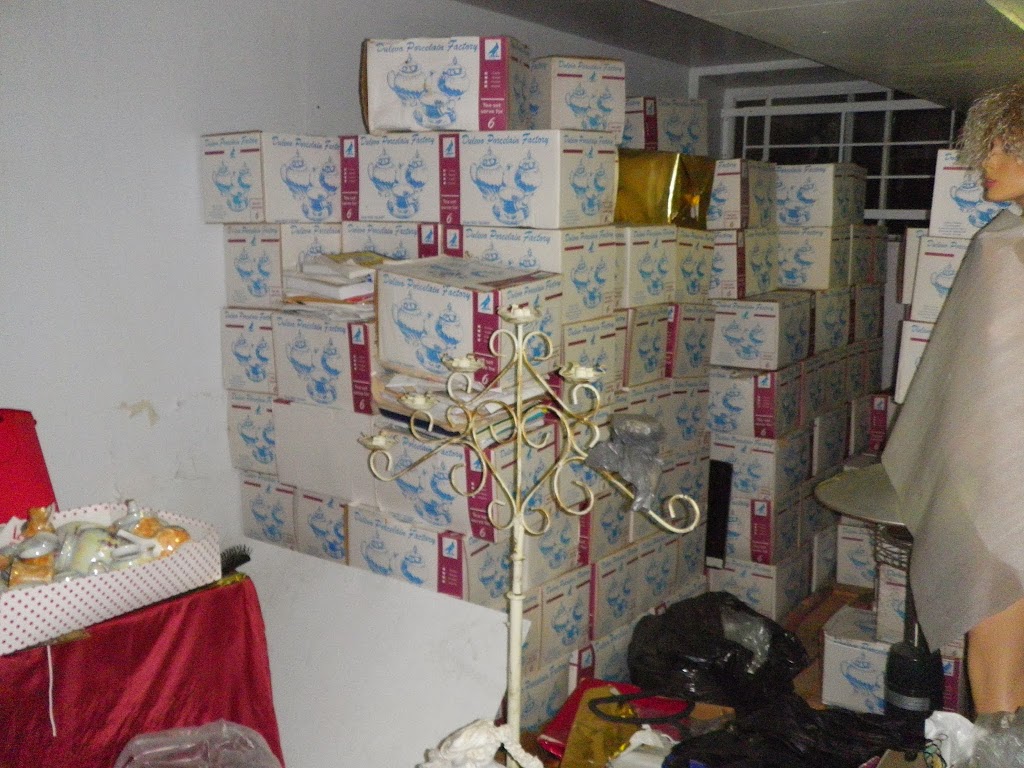
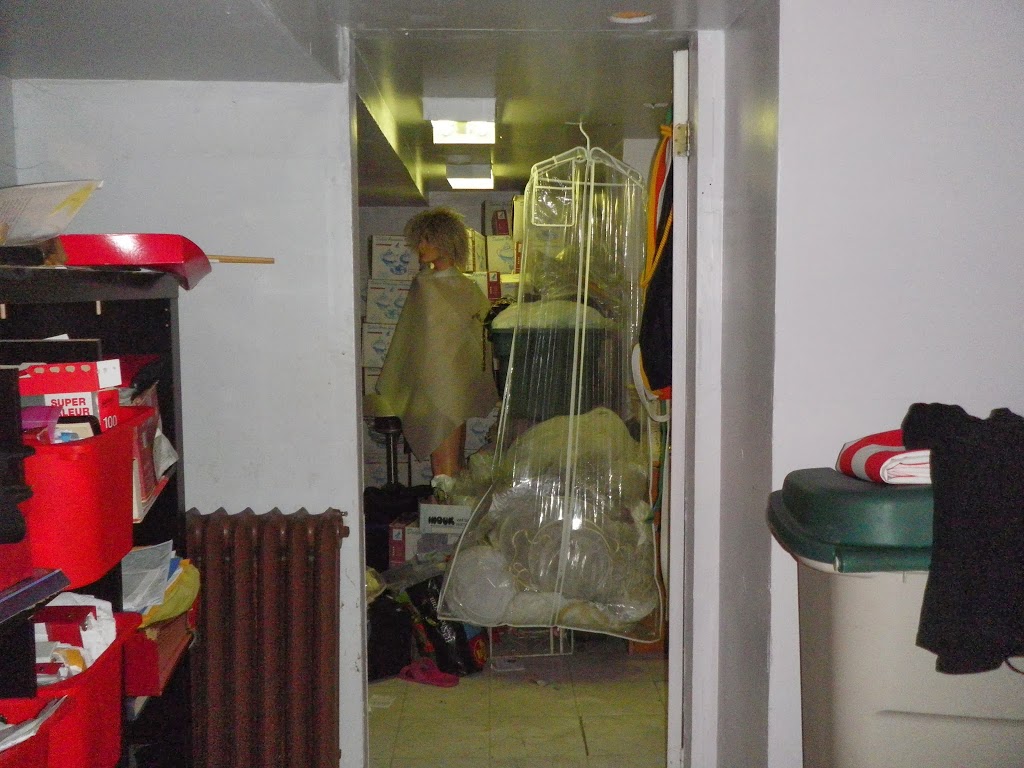
The entire basement was full of pallets of Russian teapots for sale, wedding dresses, and various other random items like hot plates and 90’s boom boxes. A path had to be cleared to walk through it to view the space.
It is kind of hard to understand how the space looks from images so next up is the ground floor floor-plan and a few of the variations I designed along the way. I made lots of structural changes and some walls were removed while others were built.

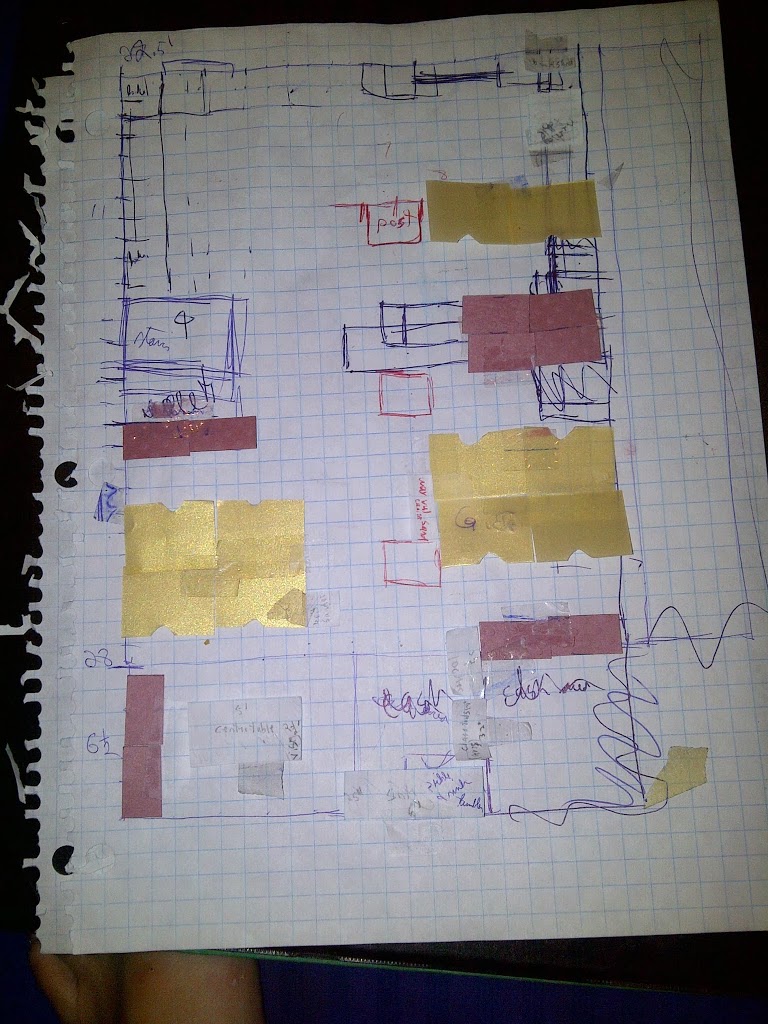
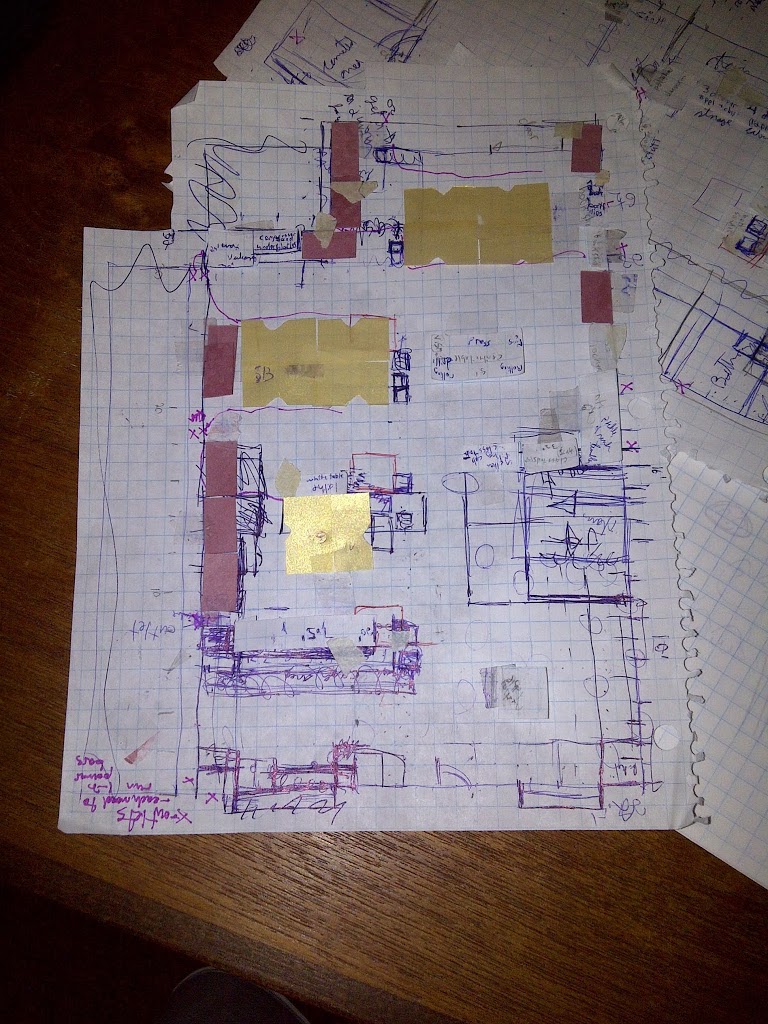
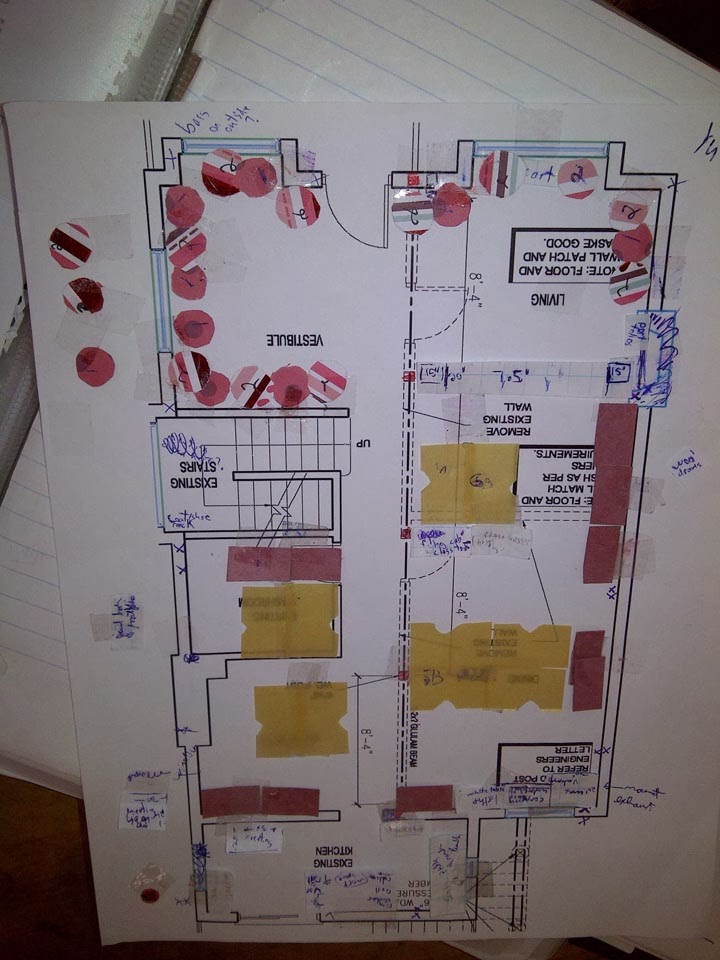
By the last floor plan you can see how I managed to fit in everything I wanted with room to play around in the retail. I measured everything hundreds of times and tried repeatedly to explain to contractors that when they changed the plans by an 1″ it changed everything for me. I may have gone through about 50 versions of these plans before I settled on the final layout for Jewel Envy.
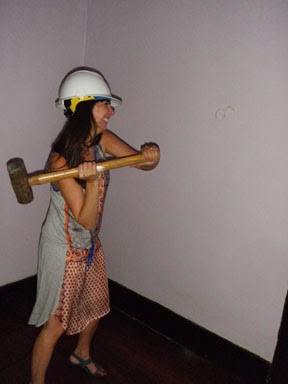
The day I got the keys we had a little ceremonial breaking of the wall with a sledgehammer, hard hats, and some heals (heals never to be allowed on site during the renovation again).

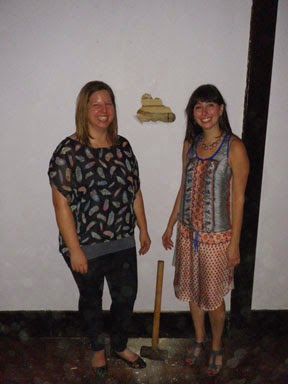
I was at the renovation every day and part of every decision but I couldn’t have done it without the great team keeping the old space on Spadina going while I was away. Alexis was there to help, as she always is, every step of the way. I couldn’t ask for a better manager or friend!
Next I will include some before and after shots so it easier to make sense of the transformation.

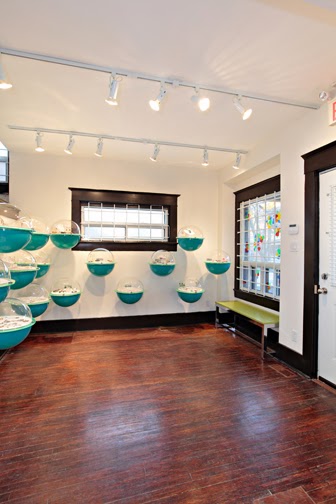

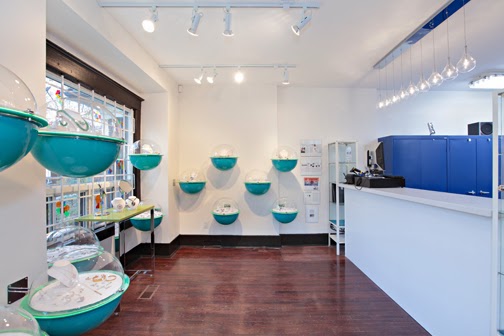
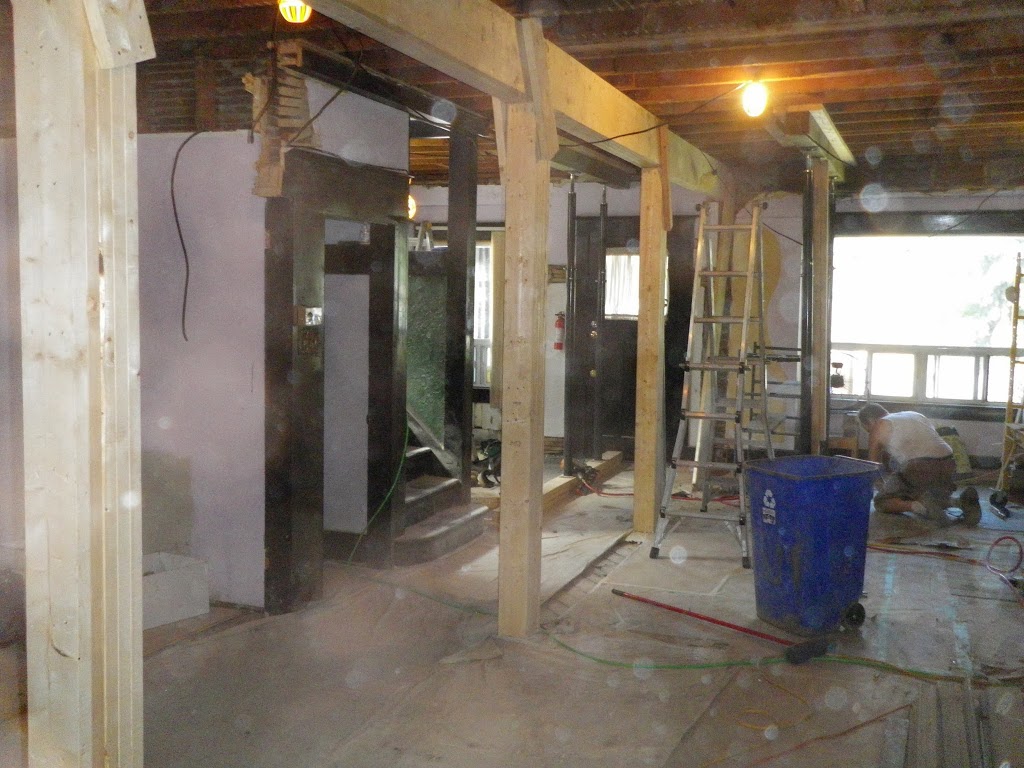

The center wall was removed and posts and beams were put in so that 90% of the ground floor could be opened up for the best use of the space.


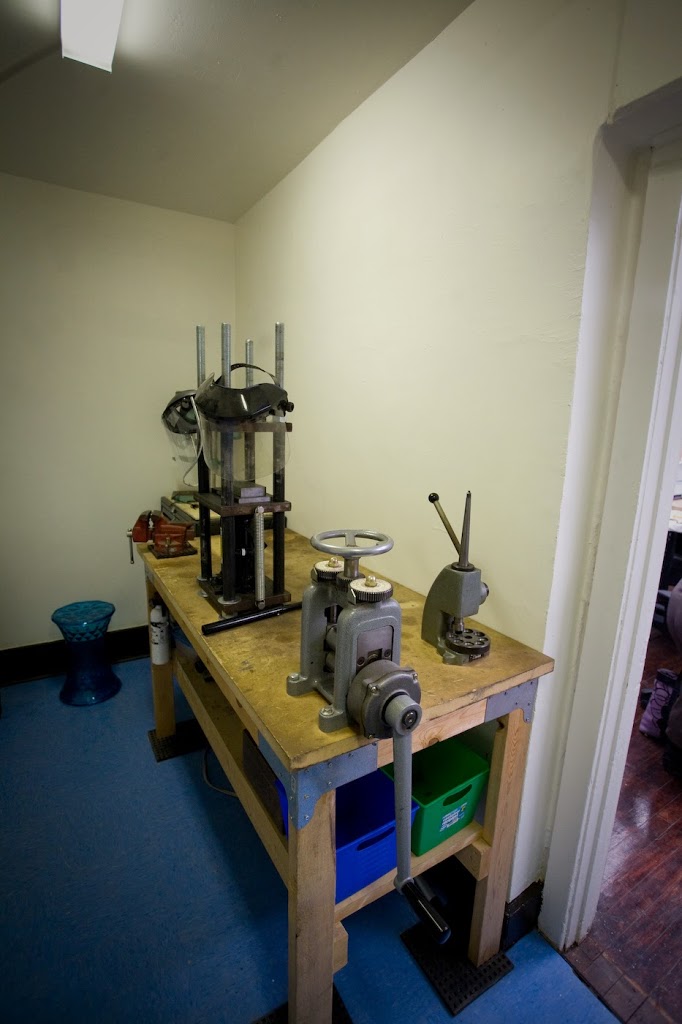
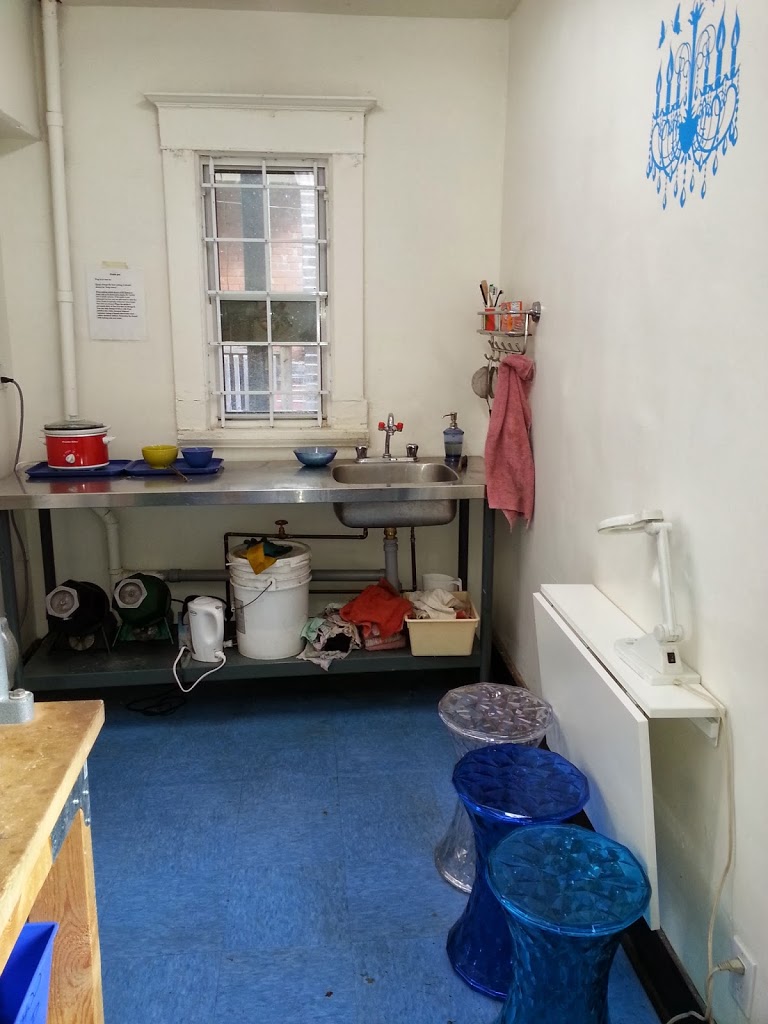
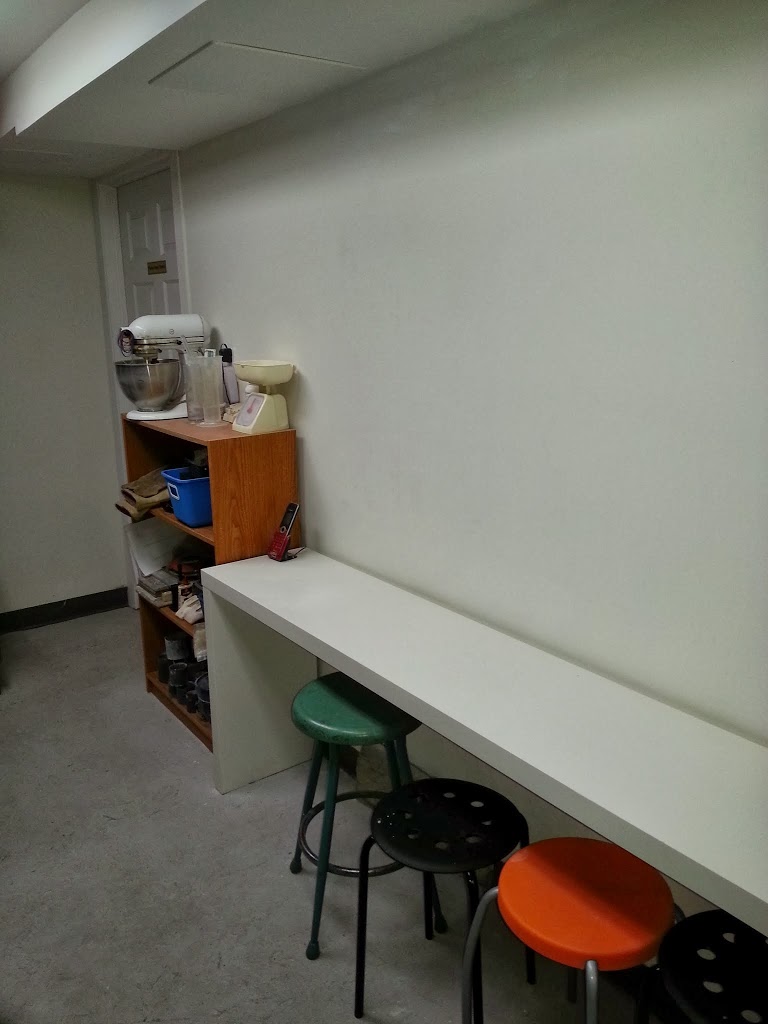
As a side note there are ten workbenches in the space, each with flex shaft, light, and torch. Having natural gas to the house allowed me to set up a wonderful system with torches upstairs and casting downstairs. I use oxygen generators at each station so this system is very safe!


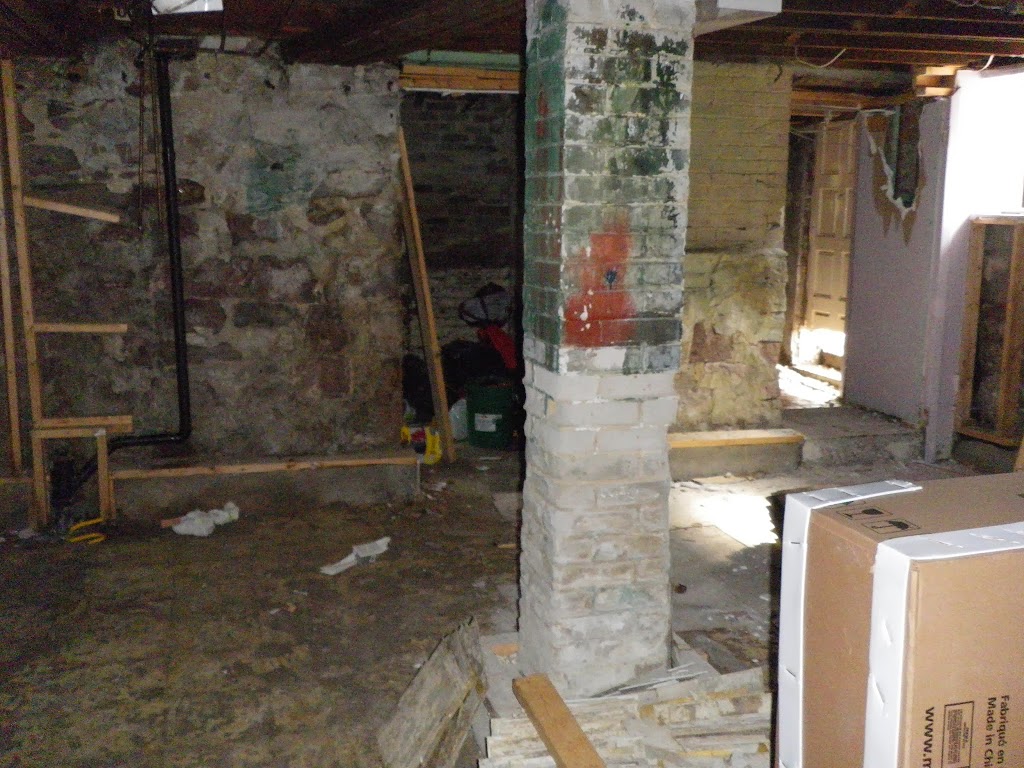
Next up the basement.


There was a little asbestos surprise at some point along the way. But after the men in hazmat suits came in and cleared the way we were good to keep working on the area that houses our burn out kiln, enamelling kilns, and casting area.


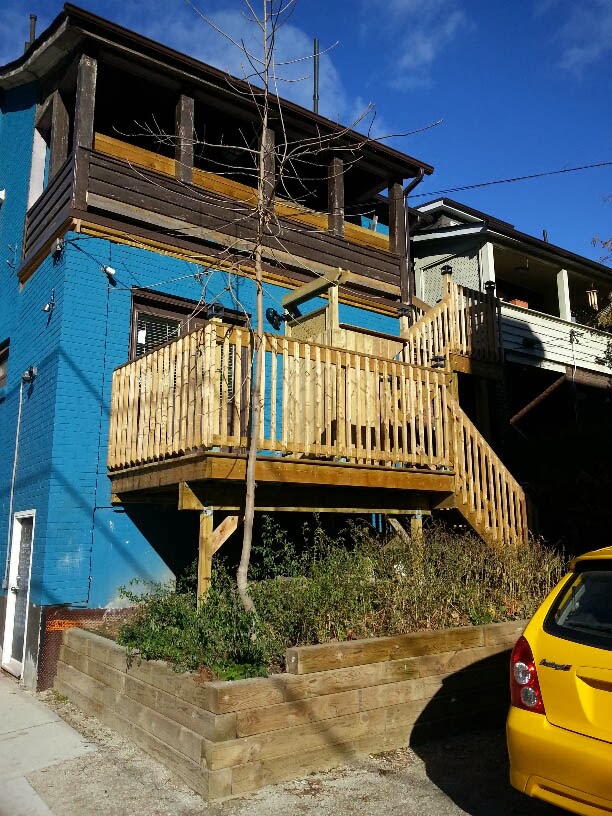
There are still a few landscaping things I have planned and of course I am always buying equipment so I guess it will always be a work in progress. Looking back over what has been done I am very proud of this endeavor. I can say this is exactly where I wanted to be at this stage in my career and I look forward to many more years in this location working with the wonderful artists who are a part of the space.
I encourage you to stop in anytime for a tour of the studio and a look and what our incredibly talented jewellers do here at Jewel Envy.
Gillian